
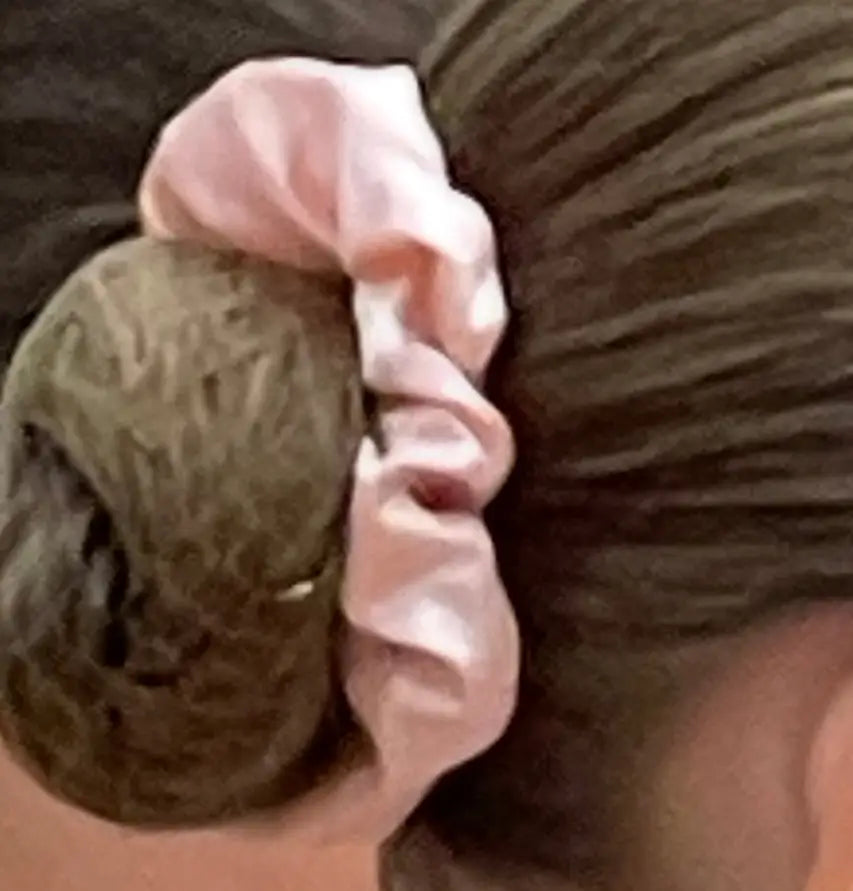
The ballet bun, also known as the ballerina bun, is more than just a hairstyle — it's a timeless symbol of elegance, discipline, and femininity. Whether you're a dancer, a mom of a young ballerina, a fan of neat hairstyles, or simply looking for a practical and stylish look, the bun with a hair net is a perfect choice.
This classic style is ideal for dance classes, performances, weddings, school photos, or even as a polished everyday hairstyle. The low bun, in particular, is always on trend — chic, simple, and effective.
Why Use a Bun with a Hair Net?
The hair net is a small, discreet, but incredibly effective accessory:
✔️ It gives the bun structure
✔️ It keeps hair neatly in place
✔️ It prevents flyaways — even during movement
It's one of the best ways to achieve a tidy, elegant, and long-lasting hairstyle with minimal effort.
Beyond dance, this type of bun is also perfect for:
-
Young girls at school – cute and practical
-
Busy women – quick and neat
-
Special occasions – timeless and elegant look
What You’ll Need
Before starting, gather these essentials:
-
A hair net (matched to hair color: black, blonde, brown, etc.)
-
A strong hair elastic
-
Hairpins or invisible bobby pins
-
Flat clips for loose strands
-
An optional scrunchie
-
A brush or comb
-
A bit of children’s styling gel (gentle and effective for smoothing)
-
Optional light hairspray
Step-by-Step: How to Make a Classic Ballet Bun with Hair Net
1. Brush and prep the hair
Detangle the hair thoroughly. Lightly dampen it or use a detangling spray if needed. To tame flyaways, apply a small amount of gentle gel, especially for kids.
2. Create a ponytail
Tie the hair into a ponytail — high or low, depending on the desired look. A low bun is often more comfortable for children and ideal for school or performances.
3. Apply the hair net
Wrap the hair net around the ponytail, spreading the hair evenly inside to create a smooth base.
4. Wrap the hair into a bun
Twist the ponytail around the base to form a bun and secure it with pins. Make sure it looks round, tidy, and even.
5. Secure flyaways
Use flat clips to pin down any loose strands. A small amount of kids’ gel or light hairspray can help hold everything in place without damaging delicate hair.
Extra Tips
-
For fine hair: Add a bit of texturizing powder for grip.
-
For younger children: Make the ponytail the night before and finish the bun in the morning.
-
To dress it up: Add a decorative barrette, a small flower, or a ribbon at the base.
-
For a bun that lasts all day: Cross the pins properly for better hold and comfort.
Why Not Use a Pre-Made Bun Kit?
There are ready-to-use bun kits that include everything you need:
➡️ Hair net
➡️ Elastics
➡️ Hairpins
➡️ Scrunchie
➡️ Clips
Perfect for moms with multiple kids or anyone who needs to get ready quickly in the morning.
Final Thoughts
Creating a ballet bun with a hair net is simple, quick, and accessible to everyone. With just a little practice and the right tools, you can achieve a comfortable, elegant hairstyle that lasts all day.
Whether for dance class, a recital, a school day, or a special event, the classic low bun remains a reliable, stylish, and always trendy choice.